Use Real Sea Shells to Cover Kitchen Splashbacks, Bathroom Tiles
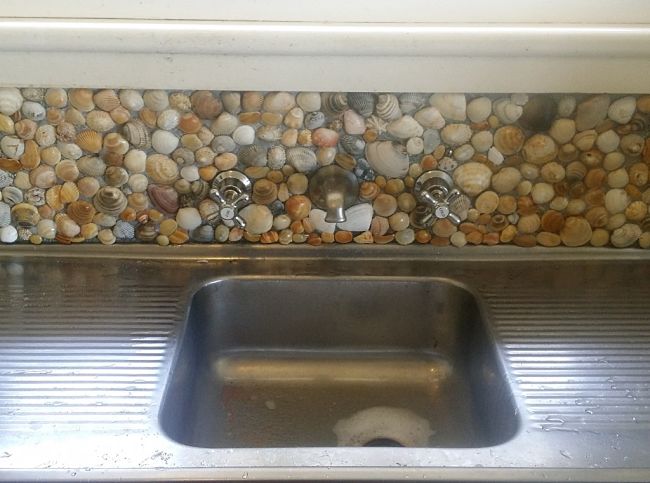
The kitchen and bathroom splashback areas over sinks are renowned for deteriorating quickly, leaking and becoming unsightly due to stains and aging of the tiles, grout deteriorating and other problems. Generally these areas are rather boring and uninteresting. They are designed for functional ease of cleaning rather than beauty or intrigue.
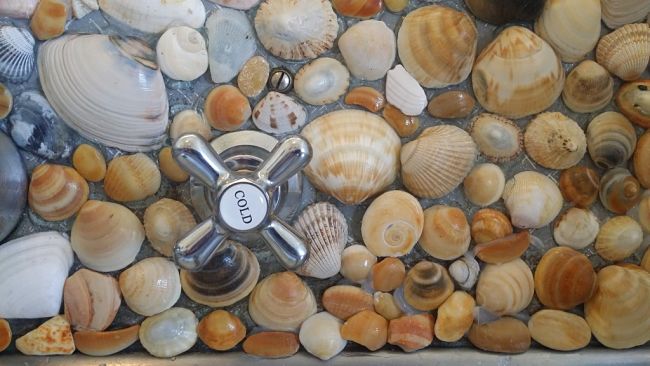
Here's a radical idea - why not use real sea shells to install on the splashbacks to renovate them.
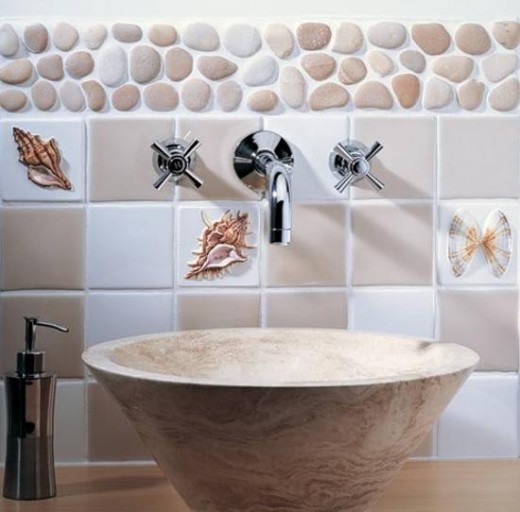
There are are a number of tiles and larger splashback surfaces that incorporate the idea of shells and seascape themes, but why not use the real thing - shells that you and your family collect at the beach yourself.
If you live inland from the coast, you can buy shells from various craft and decorating shops. This article provides some ideas for installing shells on your kitchen and bathroom splashbacks.
Shells on splashbacks provides something interesting and beautiful to look at when you are washing up, hand washing or cleaning your teeth!
Why Sea Shells are Suitable and How to Install Them
- Thick sea shells are durable and tough especially if you fill the cavity with glue. This means that pots and plates that bank against them will not crack of shatter the shells
- Shells are cheap especially if you collect them yourselves (make sure to check if a permit if needed to collect shells in your area). You can also buy shells at craft stores and decorator suppliers.
- Shells are easy to in stall over existing tiles or other backing material. The best option is to use water-resistant silicon based adhesive designed for wet areas and bathrooms. Choose clear and transparent glues so that the original backing shows through to match with areas you may not want to cover with shells. Select relatively thick glues so that the shells stay in place when the glue is drying. Otherwise, start from the bottom and if needed tape a length of wood in place to align and hold the first set of shells.
- Shells are tough and resist stains.
- Shells are very attractive especially those that have been polished by sand action on the beach. You can choose your own pattern and layout designs.
- If there is water leakage under the tiles or existing cladding you can 'kill two birds with the one stone'. If you use water-proof silicone or other glues this will waterproof the surface when you are installing the tiles.
- If the tiles need re-grouting - you can bypass that by installing shells over the top. This save time and money replacing the tiles and grout.
- You can apply glue to the shell cavity one or a time, or apply a layer of glue over the surface and install the shells in a batch. However, it is a good idea to fill the cavity of the shells with glue to strengthen them.
- Shells installed over existing tiles or cladding are easy to remove. You can simply remove the tiles or other material as you would if the shells were not added.
- Shells are easy to clean with normal detergents using brushes and cloths. But, beware of strong acids that may attack the shells.
- Your children will love to can get involved in this project, both for collecting the shells and installing them. The glues are not toxic and no great skill is involved. Parents may want to apply the glue to the shells selected by a child, who can then apply the shell to the splashback.
- Finally shells are very attractive and you will have something nice and intriguing to look at when you are washing the dishes or cleaning your teeth!